There's something magical about biting into a chilled Oreo ball—the creamy, chocolatey center giving way to a smooth candy coating is pure dessert bliss. Now imagine that same irresistible bite, but dressed up in red, white, and blue for your Fourth of July celebration. These Patriotic Oreo Balls are festive, fun, and so easy to make, even the kids can help.
I started making these for our neighborhood block party a few years ago, and they vanished within minutes. They’ve become a staple for our summer gatherings—not just because they look adorable on the dessert table, but because they taste like little bites of cookies-and-cream heaven. If you’re looking for a no-bake treat that’s budget-friendly, quick, and holiday-appropriate, this one checks every box.
Let’s dive into why these Oreo balls deserve a spot at your next celebration.
Why You'll Love This Patriotic Oreo Balls Recipe
Get ready to fall head over heels for your new favorite no-bake dessert. These Oreo balls may be small, but they deliver big on flavor, style, and convenience.
First, they’re incredibly easy to make. With just a handful of ingredients and no oven required, these are a breeze to whip up—especially when the summer heat makes you want to stay far away from your stove.
They’re perfect for parties and potlucks. You can make them ahead of time, store them in the fridge, and serve straight from the tray. Their festive colors and bite-sized shape make them an instant hit with kids and adults alike.
On the budget side, this recipe is a winner. Using just one package of Oreos, a block of cream cheese, and some melting chocolate, you can create a tray full of delicious treats without spending a fortune.
Best of all, they’re endlessly customizable. Whether you prefer milk chocolate, white chocolate, or colorful candy melts, you can adapt the coating and decorations to match any theme or holiday. But for the Fourth of July? Red, white, and blue sprinkles take the cake—or, in this case, the ball.
Now let’s talk about what goes into making these little bites of celebration.
Ingredients Notes
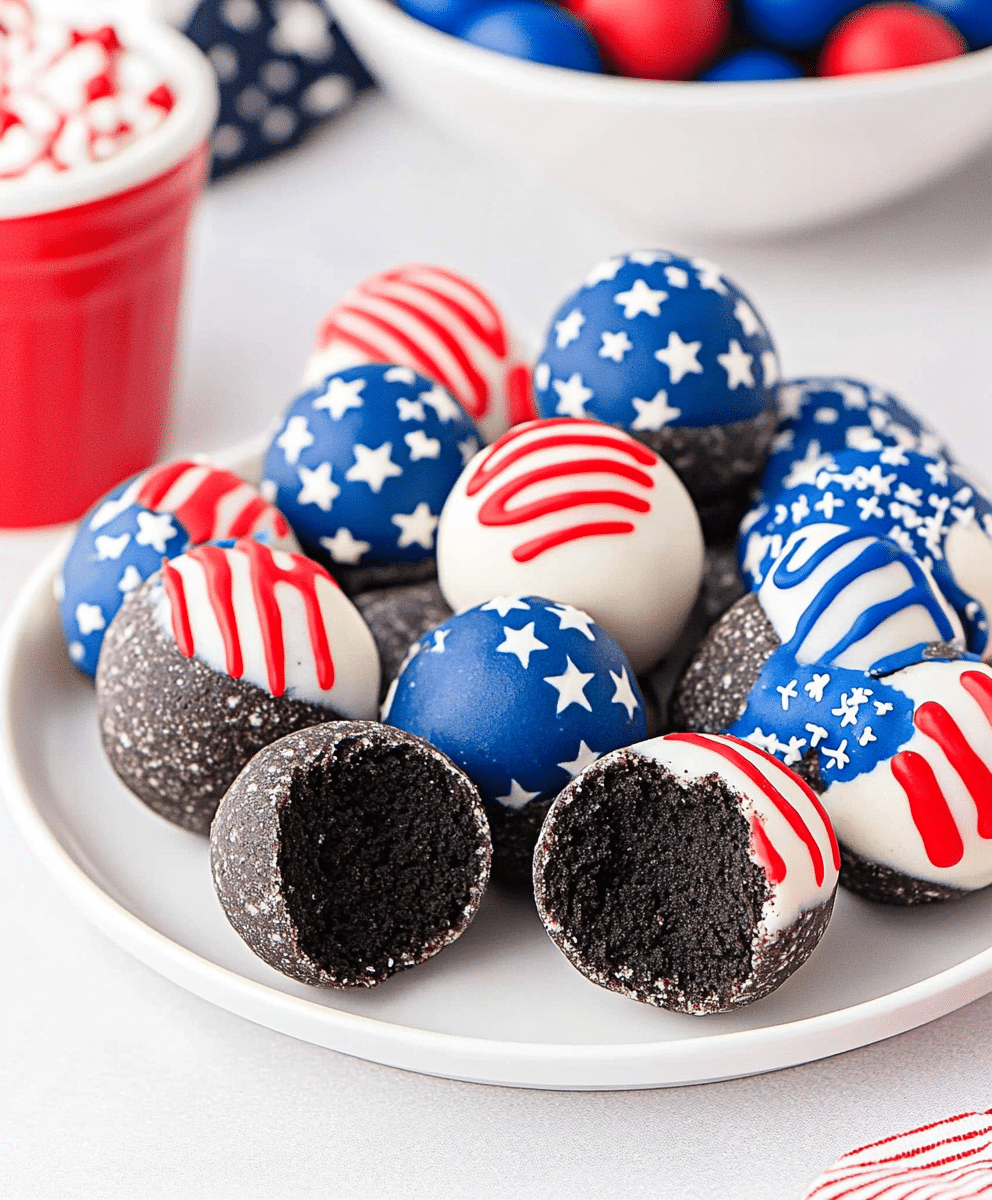
The beauty of these Oreo balls is that they require just a few simple ingredients, but each one plays a big role in texture, flavor, and presentation.
Oreo cookies are the heart of this recipe. You’ll use a whole package—filling and all—blended into fine crumbs. Don’t remove the cream center; it adds just the right amount of moisture and sweetness to bind everything together.
Cream cheese is what transforms those crumbs into a rich, truffle-like filling. Be sure to use full-fat cream cheese for the best texture, and let it soften at room temperature before mixing to ensure everything blends smoothly.
White candy melts or white chocolate are ideal for the coating. They not only give a clean base for your patriotic decorations, but also harden into a glossy shell that contrasts beautifully with the soft center. If you're using white chocolate chips, add a teaspoon of coconut oil or shortening to help with melting and coating.
Red, white, and blue sprinkles are the finishing touch that turn ordinary Oreo balls into a show-stopping holiday dessert. You can use jimmies, stars, sanding sugar, or a mix of all three—whatever festive toppings you have on hand will work beautifully.
To make the process easier, a few tools can help: a food processor to crush the cookies, a small cookie scoop for even portioning, and a fork or dipping tool for coating each ball in melted chocolate.
How To Make This Patriotic Oreo Balls Recipe
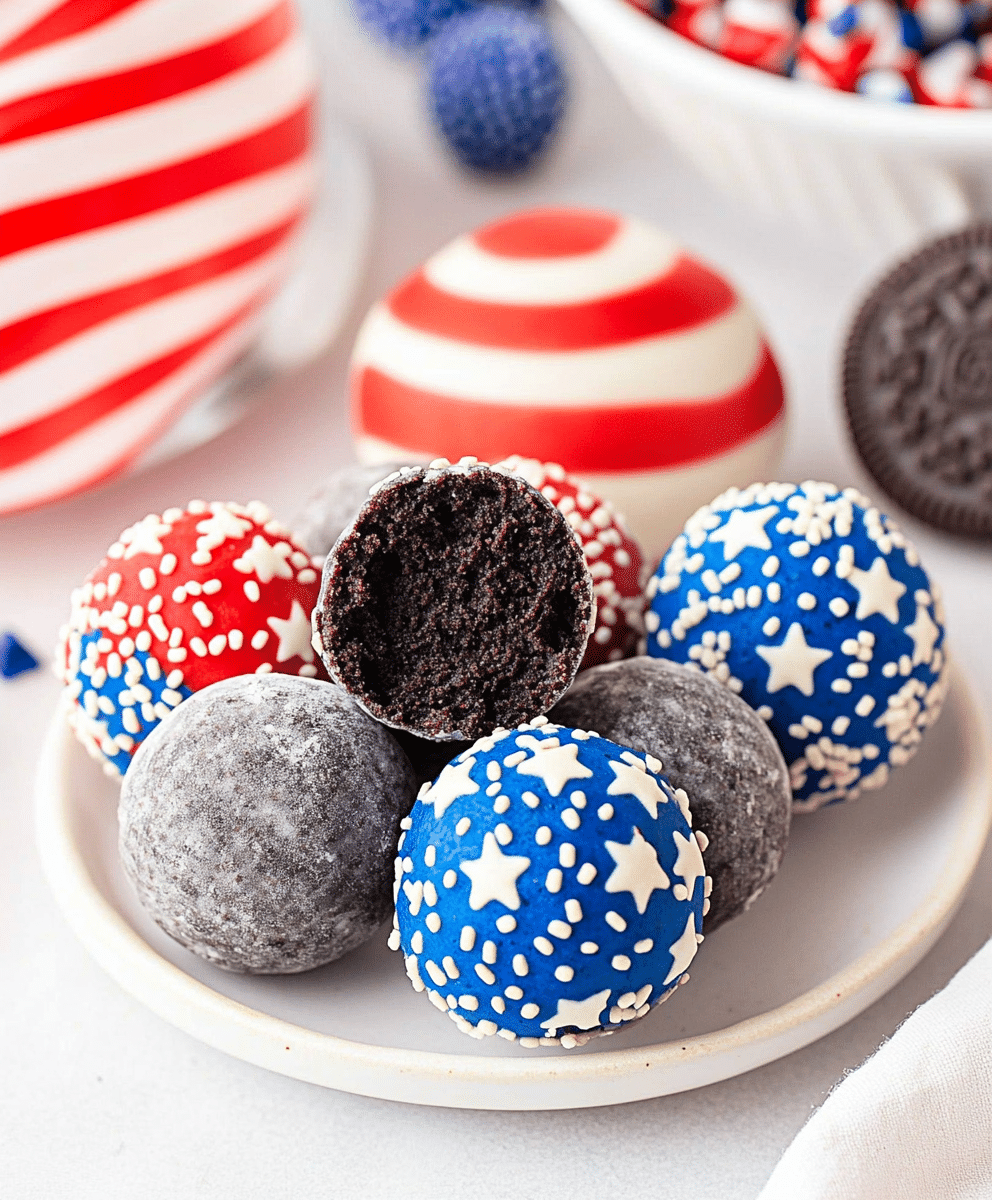
Making these Oreo balls is surprisingly simple, and once you’ve made one batch, you’ll want to recreate them again and again. Here’s how it comes together step by step.
Start by placing the entire package of Oreo cookies into a food processor. Pulse until you have fine, even crumbs. This will only take a minute or two, but be sure to stop and scrape down the sides if needed to ensure all the cookies are processed.
Add the softened cream cheese to the crumbs. Pulse again until the mixture is fully combined and resembles a thick dough. If you don’t have a food processor, you can crush the cookies in a zip-top bag and mix everything by hand—but be ready for a bit more elbow grease!
Scoop out small portions of the mixture (about 1 inch each) and roll them into smooth balls. Place them on a parchment-lined baking sheet. Once all the balls are rolled, pop the tray in the freezer for about 20 minutes. Chilling them makes them easier to coat and helps the chocolate set more quickly.
While the balls chill, melt your white candy melts or chocolate in a microwave-safe bowl. Heat in 30-second intervals, stirring in between, until smooth and fully melted. If needed, add a bit of coconut oil to thin it out for easier dipping.
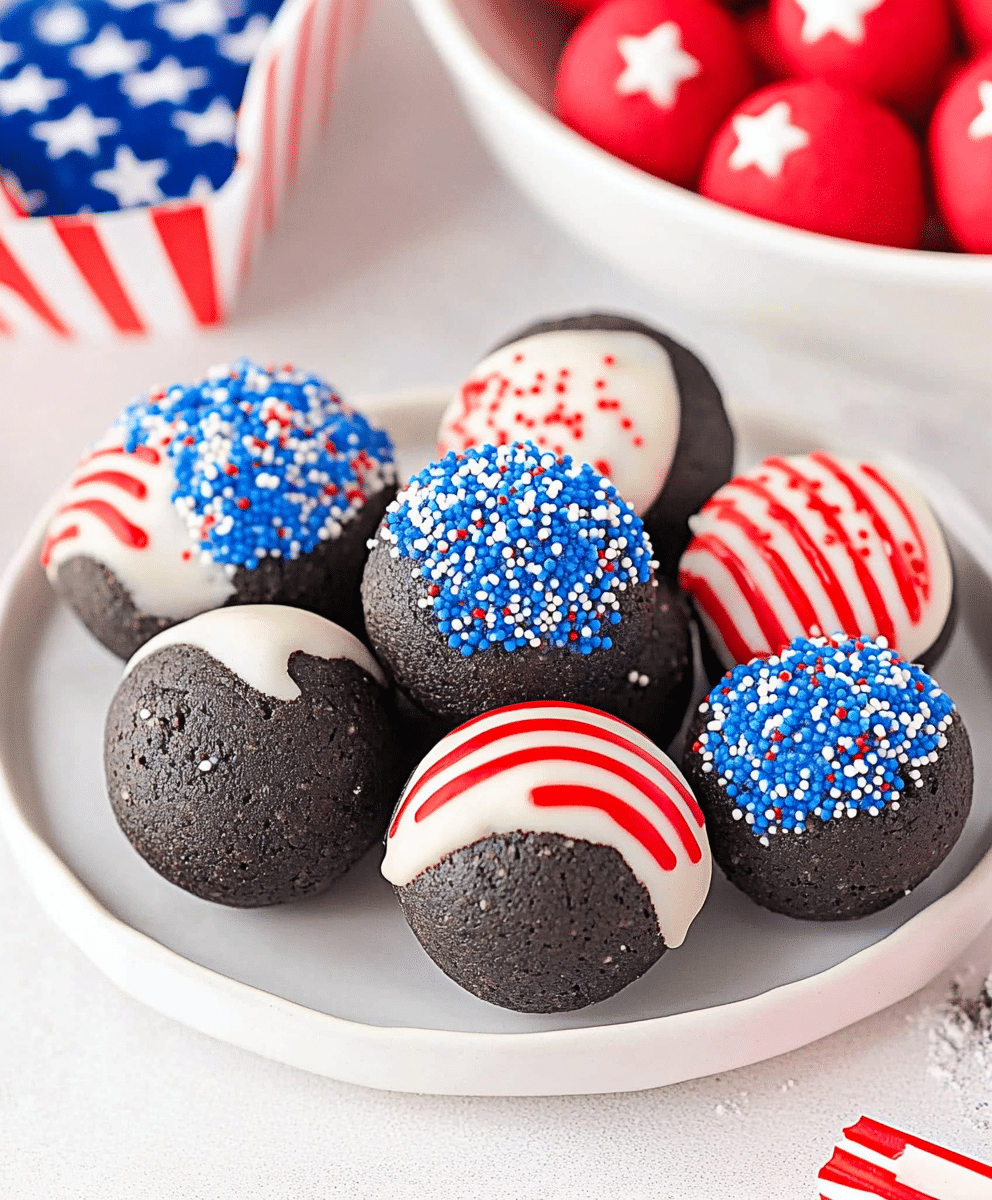
Remove the balls from the freezer and dip each one into the melted coating, using a fork to lift and tap off the excess. Immediately add your red, white, and blue sprinkles before the coating hardens. Place the finished balls back on the parchment-lined tray and allow them to set completely.
From start to finish, the whole process takes about 45 minutes. Once set, you’ll have a tray of festive, creamy, sweet Oreo balls ready to dazzle your guests—and disappear in no time.
Storage Options
These Oreo balls store beautifully, making them ideal for preparing ahead of time. Once the coating has fully hardened, transfer them to an airtight container. They’ll keep in the refrigerator for up to 1 week.
For longer storage, you can freeze them as well. Arrange the Oreo balls in a single layer on a tray to freeze solid, then transfer them to a freezer-safe container or zip-top bag. They’ll keep well in the freezer for up to 2 months.
If serving frozen Oreo balls, allow them to thaw in the fridge overnight or on the counter for 30–45 minutes before enjoying. The texture stays wonderfully creamy even after freezing.
To re-coat or refresh the decorations after freezing, simply drizzle with a little extra melted chocolate and a fresh sprinkle of red, white, and blue.
Variations and Substitutions
This recipe is a blank canvas for your creativity. While the patriotic version is perfect for summer holidays, you can easily change things up for other events or preferences.
Switch up the Oreo flavor for a twist. Golden Oreos, peanut butter Oreos, or even mint-flavored ones all work beautifully and give the balls a completely different taste profile.
Use colored candy melts instead of white chocolate. Red, blue, or even a marbled swirl can make these pop visually for themed events like birthdays or team parties.
Add extracts or flavoring to the filling. A splash of peppermint extract around the winter holidays, or a bit of almond extract for a wedding shower, adds a fun layer of flavor.
Decorate for other holidays by changing the sprinkles. Orange and black for Halloween, green and red for Christmas, or pastels for Easter make these a year-round treat.
And for an extra indulgent touch, try mixing mini chocolate chips or crushed pretzels into the Oreo-cream cheese mixture before rolling. It adds texture and an extra hit of flavor.
Once you master the base recipe, don’t be afraid to experiment. The possibilities with these Oreo balls are endless—and always delicious.
PrintPatriotic Oreo Balls Recipe
Celebrate the 4th of July with this fun and festive Patriotic Oreo Balls recipe! Made with just a few ingredients like crushed Oreos, cream cheese, and colorful candy melts, these no-bake treats are perfect for Independence Day parties or summer BBQs. They're simple to make, kid-friendly, and always a crowd-pleaser.
- Prep Time: 30 minutes
- Cook Time: 0 minutes (no-bake)
- Total Time: 1 hour (includes chilling)
- Yield: About 24 Oreo balls 1x
- Category: Dessert
- Method: No-Bake
- Cuisine: American
- Diet: Vegetarian
Ingredients
-
36 Oreo cookies (regular, not Double Stuf)
-
8 oz cream cheese, softened
-
Red, white, and blue candy melts or white chocolate with food coloring
-
Sprinkles (patriotic themed)
Instructions
-
Crush the Oreos into fine crumbs using a food processor.
-
Mix in softened cream cheese until well combined and dough-like.
-
Roll mixture into 1-inch balls and place on a lined baking sheet.
-
Freeze for 20–30 minutes until firm.
-
Melt candy melts separately according to package instructions.
-
Dip each ball into the candy coating, using different colors or a drizzle technique.
-
Add sprinkles immediately before the coating sets.
-
Chill in the fridge until ready to serve.
Notes
-
Use gel food coloring if coloring white chocolate.
-
Store in an airtight container in the fridge for up to 1 week.
-
You can use a toothpick or fork for easier dipping.
Nutrition
- Serving Size: 1 ball
- Calories: 120
- Sugar: 9g
- Sodium: 85mg



Leave a Reply