
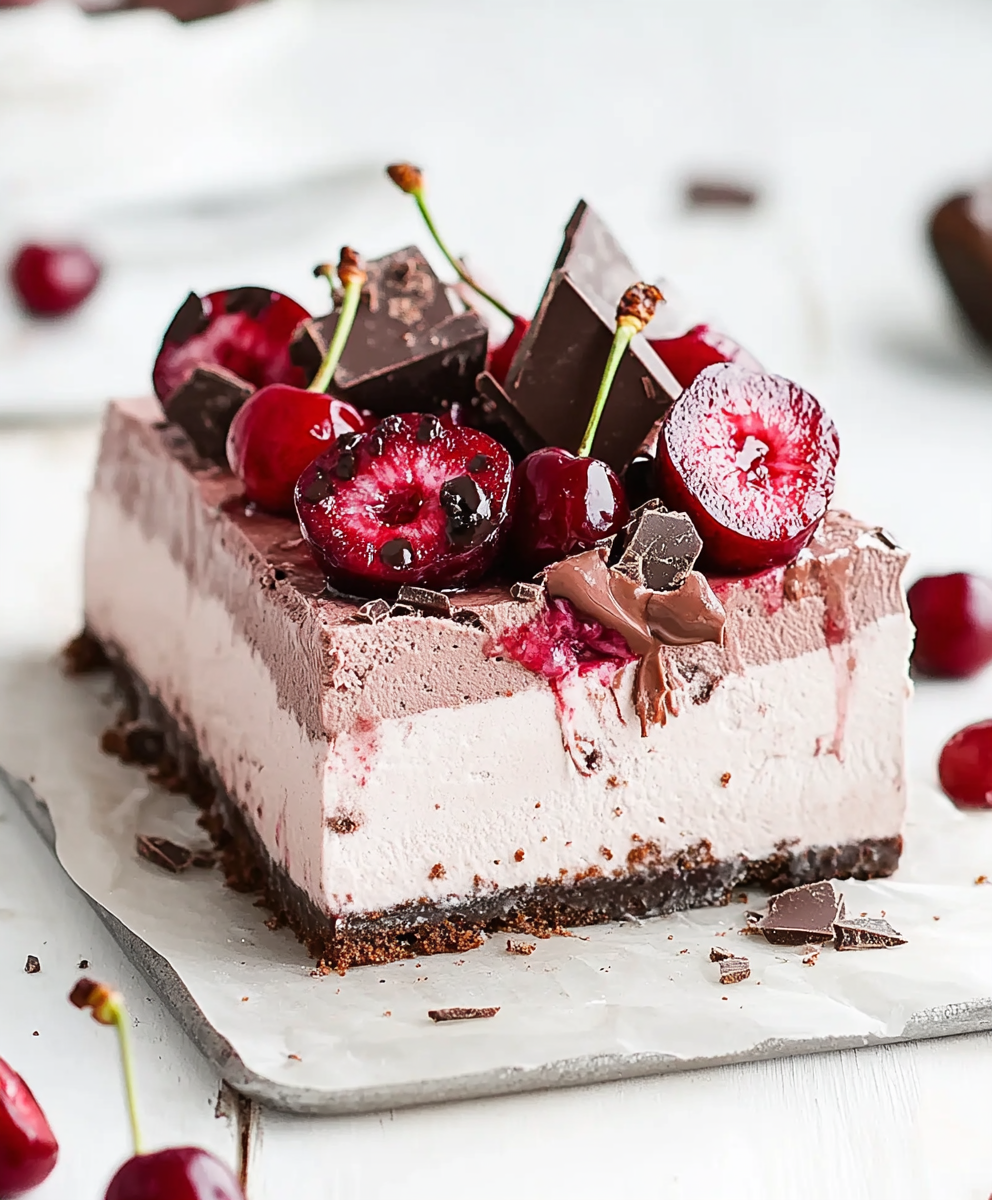
There’s something magical about the combination of cherries and chocolate—especially when it’s frozen into layers of creamy, dreamy ice cream cake. This decadent dessert is a showstopper at summer parties, birthdays, or anytime you want to impress without spending hours in the kitchen.

I first made this Cherry Chocolate Ice Cream Cake as a last-minute treat for my sister’s birthday. We didn’t have time for a traditional cake, but I had ice cream, brownies, and frozen cherries on hand. What started as a quick fix has now become a birthday tradition and the most requested dessert in our family.
Let’s take a closer look at what makes this frozen delight so irresistible.
Why You'll Love This Cherry Chocolate Ice Cream Cake
Get ready to fall head over heels for a dessert that’s equal parts luxurious and easy to make. This Cherry Chocolate Ice Cream Cake brings together rich chocolate, tart cherries, and creamy vanilla in a way that tastes like you spent hours crafting it—when in reality, it takes just minutes to assemble (plus some chill time).
First off, it’s incredibly easy to throw together. With just a few store-bought ingredients—ice cream, brownies or cookies, whipped topping, and cherry pie filling—you can create a dessert that looks and tastes completely homemade.
This is a dessert that stretches your dollar, too. No fancy equipment, no expensive ingredients—just a handful of grocery-store staples layered in a pan and transformed into something spectacular. It’s ideal for feeding a crowd on a budget.
And let’s not forget how crowd-pleasing it is. Kids love it for the chocolate. Adults love it for the nostalgia of cherries and whipped cream. Plus, it’s completely freezer-friendly, so you can make it days ahead and pull it out when you're ready to wow.
Whether you're planning a backyard barbecue or just craving something cool and chocolatey, this cake checks every box—and then some.
Ingredients Notes
The beauty of this Cherry Chocolate Ice Cream Cake lies in its simplicity. With just a few thoughtful ingredients, you get a dessert that’s rich, refreshing, and bursting with flavor.
Chocolate ice cream forms the decadent base of this cake. I prefer using a rich, premium chocolate variety with a fudge swirl or chunks of brownie inside—it adds depth and texture. If you want to mix things up, a chocolate-cherry ice cream works wonderfully here too.
Vanilla ice cream provides the perfect contrast to the chocolate and cherries. It lightens up the flavor while still keeping things creamy and indulgent. Let your vanilla ice cream sit out for 10 minutes before spreading to make layering easier and smoother.
Cherry pie filling is what gives this cake its signature sweet-tart pop. The thick syrup and whole cherries melt into the ice cream layers, adding juicy bursts of flavor in every bite. You can also use frozen sweet cherries tossed with a little sugar if you prefer a more natural texture.
Brownies or chocolate cookie crumbs form the “crust” layer. I often use leftover brownies cut into chunks, but crushed chocolate sandwich cookies work just as well. This adds that chewy or crunchy texture you need to balance all the creaminess.
Whipped topping (like Cool Whip) finishes the cake with a cloud-like layer that makes the whole thing look polished. If you’d rather use freshly whipped cream, make sure it’s stabilized so it holds up in the freezer.
You won’t need any fancy equipment for this—just a standard 9x9-inch baking dish or springform pan, a rubber spatula, and a freezer with enough space to let it set properly overnight.
How To Make This Cherry Chocolate Ice Cream Cake
Making this ice cream cake is surprisingly simple, even if it looks like a bakery-style masterpiece. It’s all about layering, freezing, and letting the ingredients shine.
Start by letting your chocolate ice cream soften at room temperature for about 10 minutes. You want it spreadable but not melted. Press brownie chunks or cookie crumbs into the bottom of your dish to create a firm base. Then, spread the chocolate ice cream over the top, smoothing it out evenly with a spatula.
Once the first layer is in place, pop the pan into the freezer for about 30 minutes. This helps the layers stay distinct and gives you time to soften your next ice cream flavor. After 30 minutes, add your cherry pie filling in an even layer. Don’t worry if some of the cherries poke through—this layer gives the cake its signature sweet-tart surprise.
Next, spread your softened vanilla ice cream over the cherries. Work gently to avoid mixing the layers too much. If the cherry layer is still a bit soft, you can freeze it for 10 minutes before adding the vanilla to keep things tidy.
Top the cake with a thick layer of whipped topping and smooth it out with the back of a spoon. For an extra flourish, dot the top with chocolate shavings, extra cherries, or a drizzle of chocolate syrup.
Cover tightly with plastic wrap or foil and freeze the cake for at least 4 hours, though overnight is ideal. When you're ready to serve, let it sit at room temperature for about 10 minutes for easier slicing. Each bite will deliver rich chocolate, sweet cherry, and creamy vanilla—a trio that never gets old.
Storage Options
This cake is designed to live in your freezer, which means you can make it well ahead of time. Store it tightly covered in the baking dish, or slice it into individual portions and wrap each one in plastic wrap for a grab-and-go treat.
For the best texture, enjoy within 7 days of freezing. After that, the layers may start to separate slightly, though it’ll still taste delicious. If you’ve used fresh whipped cream instead of whipped topping, aim to eat it within 3–4 days for optimal texture.
You can also make this recipe in mini loaf pans or silicone molds for individual servings. Once frozen solid, pop them out and store them in a freezer-safe container to save space and serve on demand.
When it’s time to reheat—just kidding! No heating necessary. But do allow the cake to sit at room temperature for 10–15 minutes before slicing. It makes all the difference in cutting clean slices and fully enjoying each layer.
Variations and Substitutions
One of the best things about this Cherry Chocolate Ice Cream Cake is how flexible it is. You can customize it based on what’s in your freezer, your favorite flavors, or dietary needs.
If you’re not a fan of chocolate ice cream, try coffee, cookies and cream, or even cherry vanilla for a different twist. The flavor combinations are endless and equally delicious.
Swap the cherry pie filling for raspberry preserves, blueberry compote, or even fresh strawberries for a summer berry vibe. Just make sure your fruit layer has enough syrup to blend nicely into the ice cream.
For a gluten-free version, use gluten-free brownies or gluten-free chocolate sandwich cookies. Most store-bought ice creams and whipped toppings are already gluten-free—just double check the labels.
If you’re looking for a dairy-free version, try non-dairy ice cream and coconut whipped topping. Brands like So Delicious or Oatly make it easy to recreate the same layers without any dairy at all.
Don’t be afraid to play around with the toppings, either. Crushed nuts, mini chocolate chips, or even a layer of ganache can take this already-decadent cake over the top.
This recipe is the perfect canvas for creativity. Once you’ve mastered the base version, the sky’s the limit. Have fun, make it your own, and don’t be surprised when it becomes the most requested dessert at every gathering.
PrintCherry Chocolate Ice Cream Cake Recipe
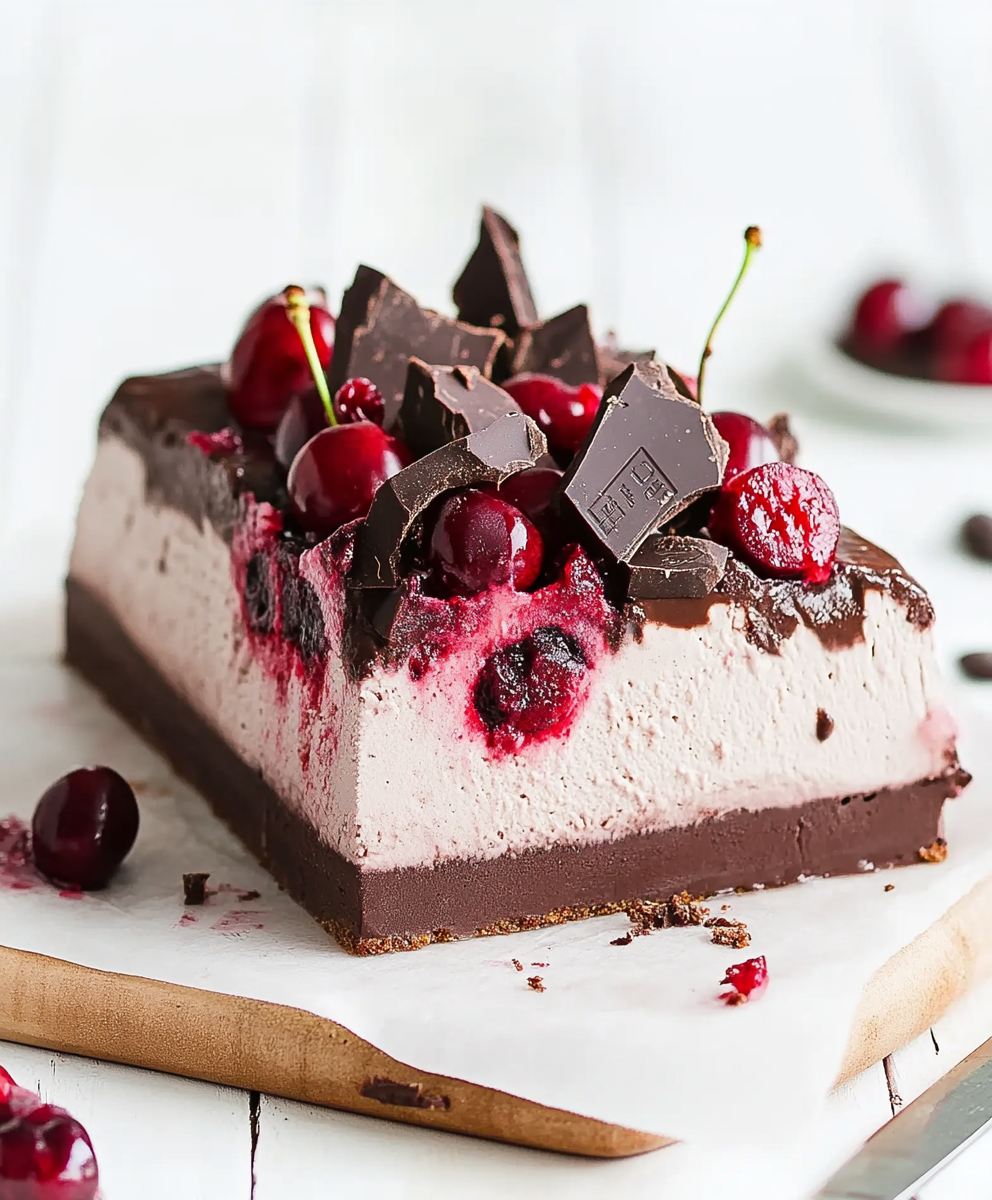
This Cherry Chocolate Ice Cream Cake is a luscious frozen dessert combining rich chocolate cake, cherry ice cream, and fudge topping. Ideal for birthdays, holidays, or hot summer days, this easy-to-make cake is a showstopper with bold cherry-chocolate flavor.
- Prep Time: 20 minutes
- Cook Time: 30 minutes
- Total Time: 6 hours 50 minutes (includes freezing)
- Yield: 10-12 servings 1x
- Category: Dessert
- Method: No-Bake / Frozen
- Cuisine: American
- Diet: Vegetarian
Ingredients
-
1 chocolate cake mix (or homemade chocolate cake)
-
1.5 quarts cherry ice cream (softened)
-
1 cup chocolate fudge sauce
-
1 cup crushed chocolate cookies or brownie chunks
-
½ cup maraschino cherries (chopped)
-
Whipped cream (for topping)
-
Chocolate shavings or curls (optional)
Instructions
-
Bake the chocolate cake according to package or recipe instructions. Let it cool completely.
-
Line a springform pan with plastic wrap. Slice cake into two layers; place one layer at the bottom of the pan.
-
Spread softened cherry ice cream over the cake layer evenly.
-
Sprinkle chopped cherries and crushed cookies or brownie chunks on top.
-
Drizzle chocolate fudge sauce over the layer.
-
Place the second cake layer on top and press down lightly.
-
Freeze for at least 4–6 hours or until fully set.
-
Before serving, remove from pan, top with whipped cream and chocolate shavings.
Notes
-
Let the cake sit at room temperature for 5–10 minutes before slicing.
-
Use homemade cherry ice cream for a gourmet touch.
-
Can be made a day ahead for convenience.
Nutrition
- Serving Size: 1 slice (approx. 1/12th of cake)
- Calories: 420
- Sugar: 34g
- Sodium: 260mg


Leave a Reply